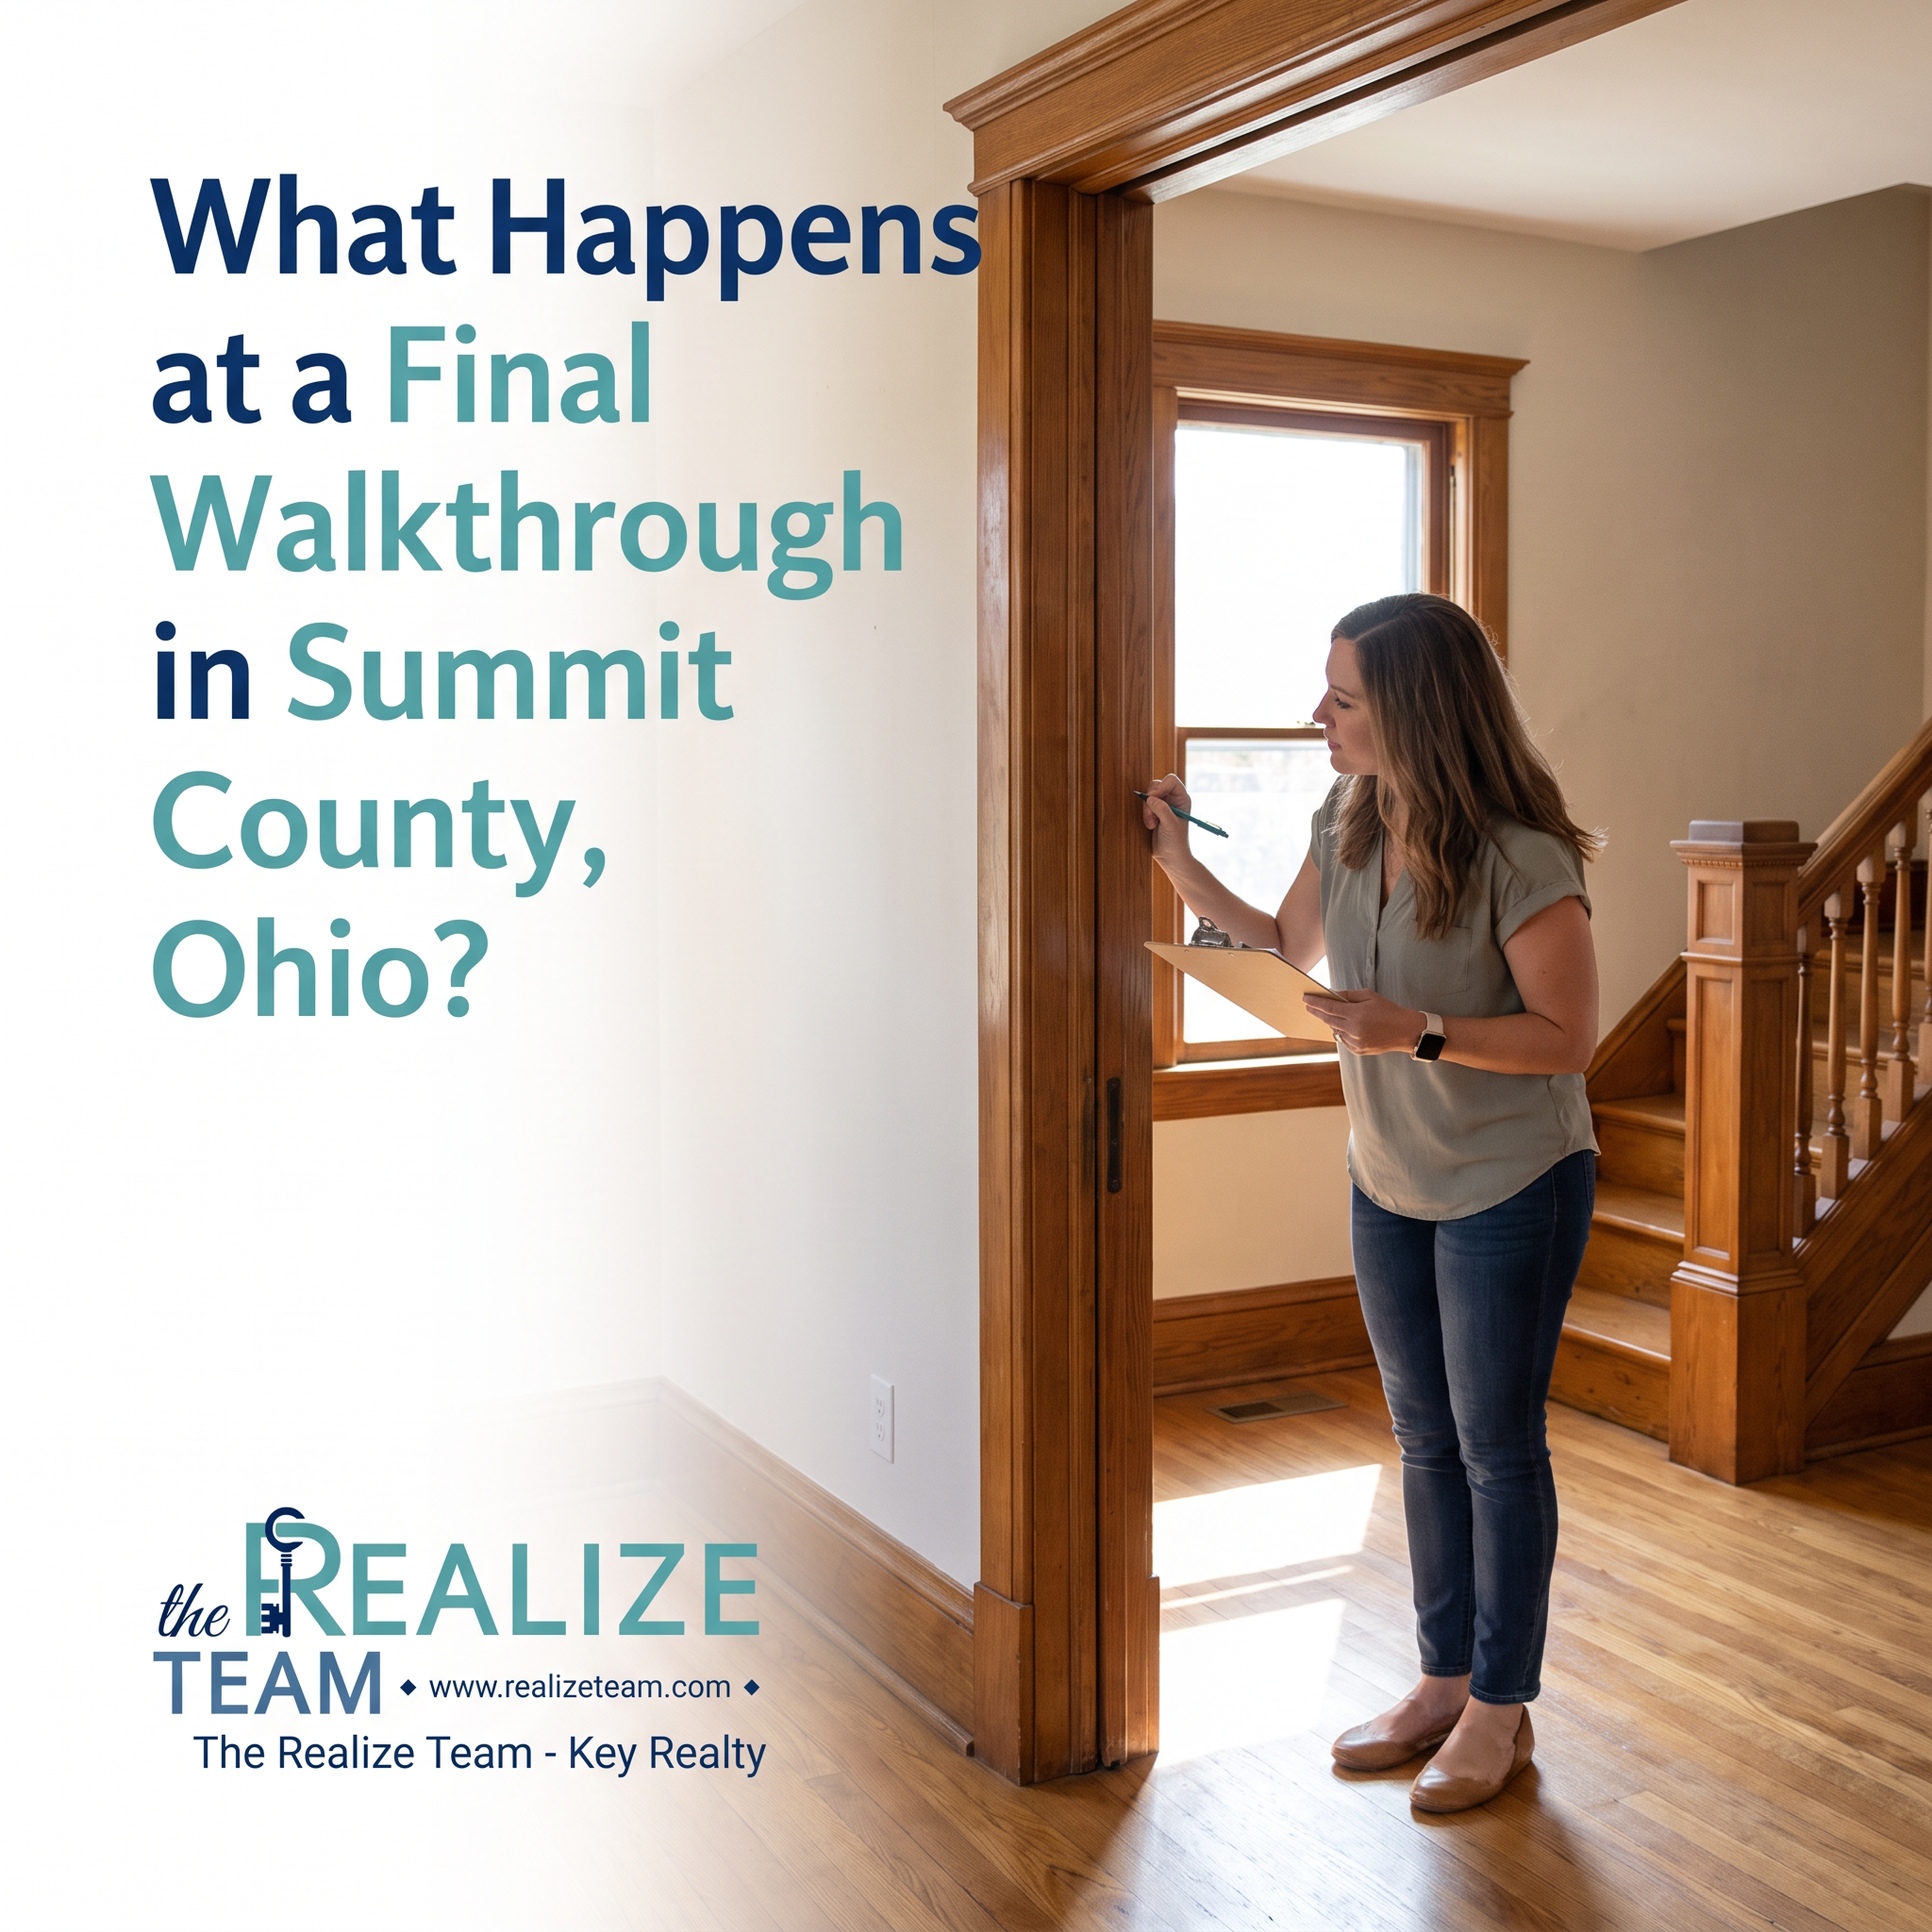
What Happens at a Final Walkthrough in Summit County, Ohio? | The Realize Team
If you are getting close to closing day on a home purchase in Summit County, Ohio, one of the last steps before you sign the closing documents is the final walkthrough.
A lot of buyers treat the final walkthrough as a formality. A quick trip through the house to make sure everything looks the same as when they made their offer. And in most cases that is exactly what it is.
But the final walkthrough is also your last opportunity to catch anything that has changed, anything that was agreed upon but not completed, or anything that was missed during the inspection process before you are legally committed to closing. That makes it one of the most important thirty to sixty minutes in the entire buying process even when everything goes smoothly.
Understanding what the final walkthrough is for, what to look for, and what to do if something is not right gives you the clarity and confidence to approach it as the purposeful step it is rather than a box to check on the way to the closing table.
The Realize Team helps buyers and sellers across Summit County, Ohio navigate major life transitions with clarity, confidence, and local expertise. And making sure our buyer clients approach the final walkthrough with clear eyes and a practical checklist is one of the ways we help them arrive at closing day fully prepared.
If you want to understand everything that happens between your accepted offer and closing day, read What Happens After Your Offer Is Accepted in Summit County, Ohio?. And if you want to understand what to expect on closing day itself, read What to Expect on Closing Day in Summit County, Ohio.
What is the final walkthrough?
The final walkthrough is a visit to the property you are purchasing that takes place shortly before closing, typically within 24 to 48 hours of the scheduled closing time.
It is not a second home inspection. The home inspector has already done their job and you have already negotiated any repairs or credits based on those findings. The final walkthrough serves a different and more specific purpose.
The final walkthrough is your opportunity to confirm three things.
First, that the home is in the same general condition it was in when you made your offer and when you had it inspected. Second, that any repairs the seller agreed to make as part of the post-inspection negotiation have actually been completed. And third, that all items included in the sale, appliances, fixtures, window treatments, and anything else specified in your purchase contract, are still present and in working order.
That is the scope of the final walkthrough. It is focused, purposeful, and specific. And when you approach it with that clarity it becomes a very manageable and often reassuring step rather than an anxiety-inducing one.
When does the final walkthrough happen?
The final walkthrough typically happens within 24 to 48 hours before closing. In some cases it happens the morning of closing day itself.
Your agent will coordinate the timing of the final walkthrough with the listing agent and the seller. For occupied homes the seller needs to have vacated the property or arrange for the walkthrough to happen at a time that works for everyone. For vacant homes the walkthrough is typically easier to schedule.
The timing matters for a practical reason. You want the walkthrough to happen close enough to closing that you can see the home in the condition it will be in when you take ownership. If the seller is still moving out you want to be able to confirm that move-out is complete or on track.
Who attends the final walkthrough?
You and your real estate agent attend the final walkthrough. In some cases your agent will have a key or lockbox access to the property. In others the listing agent or seller may be present.
You do not need to bring a home inspector to the final walkthrough. This is not a re-inspection. If you have specific concerns about a repair that was made you can ask your agent to arrange for the contractor who did the work to be available to answer questions but in most cases the final walkthrough is just you and your agent.
How long does a final walkthrough take?
For a typical Summit County home a thorough final walkthrough takes approximately 30 to 60 minutes depending on the size of the home and how many agreed-upon repairs need to be verified.
Do not rush it. This is not the moment to be in a hurry. Take the time to go through every room, check every agreed-upon repair, and test every appliance and system that is included in the sale. The 45 minutes you spend now is far more valuable than discovering a problem after you have signed the closing documents.
What to bring to the final walkthrough
Being prepared makes the final walkthrough more efficient and more useful.
Your purchase contract
Bring or have digital access to your purchase contract so you can reference what appliances and fixtures are included in the sale and what repairs the seller agreed to make.
Your inspection report
Have your inspection report available so you can reference the specific items the seller agreed to address and verify that each one has been handled.
A list of agreed-upon repairs
If your agent prepared a written summary of the repairs or credits the seller agreed to as part of the post-inspection negotiation bring that list and check off each item as you verify it.
Your phone
Use your phone to take photos or video of anything that looks different from what you expected or anything that concerns you. That documentation is valuable if you need to address an issue before closing.
A phone charger or small appliance
Bringing a phone charger or a small appliance you can plug in lets you quickly test electrical outlets throughout the home to confirm they are all working.
What to check during the final walkthrough
Here is a practical room-by-room checklist for your Summit County final walkthrough.
Every room throughout the home
Walk through every room including bedrooms, living areas, dining areas, bathrooms, closets, and any additional spaces like a home office, bonus room, or sunroom.
In each room check that the walls, ceilings, and floors are in the same condition as when you made your offer. Look for any new damage, staining, or changes that were not there before.
Check that all light switches and outlets are working. Test them as you move through each room.
Check that all windows open and close properly and that the locks work.
Check that all doors including interior doors, closet doors, and any pocket or barn doors open, close, and latch properly.
Look for any personal property the seller may have left behind that is not included in the sale. If the seller left items that were supposed to go with them note it and inform your agent.
Kitchen
Turn on every burner on the range or cooktop and confirm it heats properly.
Turn the oven on and confirm it works.
Run the dishwasher through a quick cycle if time permits or at least confirm it powers on.
Open and close the refrigerator and confirm it is cooling. Check the freezer as well.
Run the garbage disposal.
Run the faucet and check that the water pressure feels normal and that there are no leaks under the sink.
Check that the range hood fan works.
Confirm that all appliances included in the sale are present and have not been swapped out for different or lesser models. Check the model numbers if you noted them during your inspection.
Bathrooms
Run the faucets in every bathroom and check water pressure.
Flush every toilet and confirm it flushes and refills properly.
Run the shower and bathtub and check that hot water arrives within a reasonable time.
Check under every sink for any signs of leaks or new water damage.
Check that the exhaust fans work.
Look at the caulking and grout around tubs and showers. If the seller agreed to recaulk confirm it was done.
Basement
Check the basement carefully for any signs of new water intrusion especially if the home had any history of moisture issues.
Confirm that the sump pump is present and operational if the home has one.
Check the condition of the mechanical systems including the furnace, water heater, and electrical panel. Make sure nothing looks different from what you saw during the inspection.
If the seller agreed to any repairs to basement systems confirm they were completed.
HVAC systems
Turn on the heating or cooling system depending on the season and confirm it operates. Check that air is flowing from the vents in multiple rooms.
Confirm the furnace filter is present. Some sellers remove filters when they move out.
If the home has a separate air conditioning unit outside check that it is still present and has not been damaged during the move-out process.
Water heater
Confirm the water heater is still present and operational. Run a faucet until the water gets hot and confirm hot water is available.
Garage
Test the garage door opener and confirm it works with both the wall button and the remote.
Check that the garage door reverses when it meets resistance, which is a basic safety feature.
Confirm that any garage door remotes or keypads included in the sale are present.
Check the garage for any items the seller left behind that are not included in the sale.
Exterior
Do a quick walk around the exterior of the home and look for any new damage that was not there when you made your offer. Check the roof from the ground if possible. Check the gutters. Look at the siding, trim, and any decking or patio areas.
Confirm that any exterior features included in the sale such as a storage shed, swing set, or outdoor furniture are still present if they were part of your purchase agreement.
Agreed-upon repairs
This is the most important part of your final walkthrough checklist. Go through every repair the seller agreed to make and verify that each one was completed.
If the seller agreed to fix a leaking faucet, test the faucet. If they agreed to repair a damaged section of drywall, look at the wall. If they agreed to service the furnace, check for any documentation from the service technician.
For larger repairs like a roof repair or a structural fix, ask your agent whether documentation from the contractor is available. A receipt or invoice from a licensed contractor confirms the work was done and gives you a record of what was addressed.
What to do if something is not right
If you discover something during the final walkthrough that concerns you do not panic and do not sign the closing documents until the issue is addressed. Here is how to handle the most common situations.
A repair was not completed
If the seller agreed to make a repair and it has not been done you have options. Your agent can contact the listing agent immediately to find out what happened and what the seller plans to do. Depending on the nature of the repair and how close you are to the closing time you might negotiate an additional credit at closing to cover the cost of having the repair done yourself, request that the repair be completed before closing with closing delayed if necessary, or in rare cases of significant unresolved issues consult with your agent about your options under the purchase contract.
The home has been damaged during move-out
If the seller damaged the home during the move-out process, for example by dragging furniture across hardwood floors, removing a fixture that was included in the sale, or damaging walls, your agent needs to know immediately. This is a situation where documentation with photos or video is particularly important. Your agent and the listing agent will work together to find a resolution before closing.
An included item is missing
If an appliance, fixture, or other item that was included in your purchase contract is not in the home contact your agent right away. The seller is contractually obligated to include those items in the sale. A credit at closing equal to the replacement value of the missing item is a common resolution.
Something looks different but you are not sure it is a problem
If something catches your eye but you are not sure whether it is a legitimate concern, take photos, note it, and discuss it with your agent. Your agent can help you evaluate whether it warrants action before closing or whether it is within the normal range of variation between when you toured the home and closing day.
The home is not clean
Ohio purchase contracts typically require sellers to leave the home in broom-clean condition. If the seller has left significant debris, trash, or items throughout the home that is worth noting and potentially negotiating a credit for. What constitutes broom-clean can vary so discuss it with your agent if you have concerns.
What if the final walkthrough reveals a serious problem?
In most Summit County transactions the final walkthrough goes smoothly. The home is in good condition, the agreed-upon repairs have been completed, and everything is in order for closing day.
But occasionally a serious issue comes up during the final walkthrough that needs to be addressed before closing can proceed.
If you discover a significant new problem during the final walkthrough, for example evidence of new flooding in the basement, a major system that is no longer working, or substantial damage from the move-out process, your agent needs to know immediately. Depending on the nature and severity of the issue closing may need to be delayed while the parties work out a resolution.
Do not feel pressured to close on a home that has experienced a significant change in condition between your inspection and the final walkthrough. Your purchase contract includes protections for exactly this kind of situation and your agent is there to help you navigate it.
The final walkthrough for sellers
If you are selling your home in Summit County it is worth understanding what buyers are looking for during their final walkthrough so you can make sure you are prepared.
Leave the home in broom-clean condition. Remove all personal property that is not included in the sale. Complete all agreed-upon repairs before the final walkthrough and have documentation from contractors available. Make sure all included appliances are present and in working order. Leave any manuals, warranties, garage door openers, extra keys, and any other items specified in your contract.
The final walkthrough is not the moment for surprises. Buyers who arrive for their final walkthrough and find the home in worse condition than expected or repairs not completed are buyers who may have concerns about closing. Preparing properly for the final walkthrough is one of the last things you can do as a seller to ensure a smooth closing day.
FAQ: What Happens at a Final Walkthrough in Summit County, Ohio?
What is the purpose of the final walkthrough?
The final walkthrough gives buyers the opportunity to confirm that the home is in the same general condition as when they made their offer, that all agreed-upon repairs have been completed, and that all items included in the sale are present and in working order.
When does the final walkthrough happen?
Typically within 24 to 48 hours before closing. In some cases it happens the morning of closing day.
How long does a final walkthrough take?
For a typical Summit County home a thorough final walkthrough takes approximately 30 to 60 minutes.
What should I bring to the final walkthrough?
Your purchase contract, your inspection report, your list of agreed-upon repairs, your phone for photos and testing outlets, and a small appliance or charger to test electrical outlets.
What happens if something is wrong during the final walkthrough?
Contact your agent immediately. Depending on the nature of the issue you may negotiate an additional credit, request that the repair be completed before closing, or delay closing until the issue is resolved. Do not sign closing documents until any legitimate concerns have been addressed.
Is the final walkthrough the same as a home inspection?
No. The home inspection is a detailed professional evaluation of the home's condition that happens earlier in the process. The final walkthrough is a buyer-conducted verification that the home is in the expected condition just before closing.
What if agreed-upon repairs were not completed?
Contact your agent immediately. The listing agent will need to reach out to the seller and your options include a credit at closing, delaying closing until repairs are made, or other negotiated resolutions depending on the circumstances.
How does The Realize Team help buyers during the final walkthrough?
The Realize Team accompanies buyers across Summit County, Ohio on their final walkthrough, helps them evaluate what they are seeing, identifies anything that needs to be addressed before closing, and advocates on their behalf if any issues arise.
Final thoughts
The final walkthrough is one of the last steps between you and the keys to your new home. Approaching it with a clear checklist, realistic expectations, and your agent by your side makes it a purposeful and often reassuring experience rather than a stressful one.
In the vast majority of Summit County transactions the final walkthrough confirms that everything is as expected and closing day proceeds smoothly. But knowing what to look for and what to do if something is not right gives you the confidence to handle whatever comes up with clarity and composure.
If you are getting ready to buy a home in Summit County and want to make sure you are fully prepared for every step of the process from offer to closing day, we would love to help.
Register for our free virtual buyer seminar here buymyneohome.com for a complete walkthrough of the buying process including the final walkthrough and closing day.
Or reach out through our contact page Contact Us and we would be happy to answer your questions.
Abby Smith | Licensed Real Estate Agent
Jessica Isakov | Licensed Real Estate Agent
The Realize Team - Key Realty
Serving buyers and sellers across Summit County, Ohio
Helping clients navigate major life transitions with clarity, confidence, and local expertise.
234-200-6477
www.realizeteam.com


